Wednesday, October 30, 2013

Field trip! Photography Class Week Three


In week three we got out of the studio (classroom), and took a field trip to a women's volleyball game, Northwestern vs. Illinois.  We were encouraged to take photos using shutter priority.  This is a semi-manual function, where the user controls the shutter speed (and other things like ISO and white balance), and the camera will automatically select the right aperture setting.  Aside from capturing the action, we were tasked with telling the story of the entire experience. 

Here are a few shots I took at the game, and also a few I took at home later in the week.  There is a sort of selfie in one of the photos, see if you can spot me!

Be back soon.

Hugs,
Tara


Check out other photography class adventures:


Monday, October 28, 2013

I'm going round and round again - ceramics week three

small ceramic cylinder
Small ceramic cylinder
 
 
Week three of ceramics was much the same as week two.  Practice, practice, practice!  We went straight to work, and Wendy the instructor came around to answer questions and trouble shoot.  I've gotten okay at centering and building a basic small cylinder.  It would be nice to do some other shapes and sizes.  Next class we will have a demonstration on bowls, and, by request, mugs. 
 
While I was working, it occurred to me ceramics has some things in common with Thai bodywork and Buddhist meditation.  The first connection to Thai massage is that you have to listen to the clay, as you would listen to a client's body.  You have to be quiet in your own mind so you can observe the conditions.  You also must have a steady and firm grip, but not grasping.  In ceramics, if you push too hard, you'll go off center or create a lump, or even ruin the piece all together.  Thai bodywork has also helped me be more aware of when I'm holding in my own body, and I've caught myself at the wheel plenty of times being taut in the hands, overly hunched in the shoulders, and tense in the hips.  Relaxing or even taking a little stretch is nice.  It can also help to get up entirely, and look at your piece from a different angle. 
 
Which brings me to the connection with Buddhist meditation, and the idea of non-attachment.  Especially as a beginner, there are just so many things that can go "wrong;" a finished piece definitely isn't guaranteed.  Today I went to the studio for extra practice.  I had a piece finished and was getting the wire ready to take it off the wheel.  It somehow snagged, and the wire handle irreparably gouged the side.  Clay is a delicate thing - it could dry too quickly before it can be trimmed, explosions happen in the kiln, it can be handled indelicately and shatter. 
 
But back to the class!  A few of us had items that were ready for the next step, trimming.  We also had a lesson in handle making and attaching.  See below for my little pitcher moving on. 
 
In a few weeks there will be a raku firing, and we are invited to prepare items for it.  There is another type of clay used.  It looks lighter in color, but otherwise I'm not sure how it is different than the brown clay we've been using.  I'll find out and report back.  The firing itself it a low-fire method, done outside, with lead glazes and sometimes combustible materials (e.g. grasses, leaves, even hair) that will leave an imprint on the clay.  Pieces made through this method are somewhat porous, and not food safe.
 
Here is a short video of a raku firing.  Looks fun!  I'm planning to participate, so I should start making items next class.  Let's hope for decent weather, November in Illinois can really be dicey. 
 
Be back soon!
 
Hugs,
Tara
 

small cylinder
Oh look, a small cylinder. 
 
    
small ceramic pitcher
The small pitcher from week two is now trimmed.
 
 
small ceramic pitcher with handle
And now it has a wee handle.


greenware
The little pitcher (bottom right) ready to dry more and the first firing. 


raku examples
Raku examples

*****
 
Catch up with the previous adventures in ceramics:


*****
 
Join the Small Beauty Everywhere companion Facebook page,
a community for sharing beauty found in everyday life.
 
*****

Sunday, October 27, 2013

Photograph, all I've got is a photograph - photography class week two


 Radio Flyer wagon
 
 
Class opened with a short show and tell period.  It was great fun to see what fellow students had been working on.  The primary topic covered in class was EXPOSURE!  Proper exposure is key to a successful photograph.  It can also be a little subjective, and can be manipulated for artistic purposes.  We discussed the tool of bracketing.  This concept is taking the same photo with slightly different settings.  In this case, all settings remain the same, then using the exposure compensation function, "under" expose and "over" expose the photo two increments each way.  What turns out to be the "best" photo may be surprising!     
 
We were asked to shoot on black and white (this is the monochrome setting on my Cannon), as the instructor feels this is a clearer way to see proper exposure in a photo.  If the photo is done well, details should be visible in both the lightest and darkest areas of the picture.  I have done very little black and white photography with this camera.  I didn't even know where the function was to change it until this course and reading the manual.  I have switched a few photos in post-production editing, but a lot of what draws my eye is vivid color.  It took a bit to adjust my view to seeing good b&w opportunities. Once I got rolling, I really enjoyed it!  After all, one of the reasons I took a photography class was to expand my subjects. 
 
Another concept we worked on is low key and high key lighting.  The former is an overall darker image, with dramatic light and a good amount of shadows.  The latter then being the opposite, a very uniform brightly lit scene.  Think baby photos.  This exercise sort of surprised me, I found it difficult to take successful high key pictures.  I don't know if it was the black and white, which to me just feels moodier and more aligned with low key lighting.  Or maybe it is our house, which is old (1921) and overall shadowy.  It wasn't until a few days I ago I took to using the second floor as a sort of photography studio, which has skylights and white walls, for more even lighting.  I was challenged with the low key lighting, in that I don't have a tripod.  So all sorts of chairs, books, and even yoga blocks, were used as make-shift structures.   
 
Lastly, we were asked to think about different ways to shoot a subject.  Get physical, and interact with the subject.  Straight on isn't always the most interesting angle.  We had a short slide show of some influential black and white photographers for inspiration. 
 
Photography continues to be a great joy, and I'm learning a lot in the class. 
 
Until next time!
 
Hugs,
Tara
 
 
 Edgebrook Motel
 
 
teapot & teacup


Carl the ct


cyclamen


old window latches


whistling tea kettle


Moka pot


radiator cover


Ash the cat


See more adventures in photography class:


*****
 
Join the Small Beauty Everywhere companion Facebook page,
a community for sharing beauty found in everyday life.
 
*****


Tuesday, October 22, 2013

You spin me right round, baby - ceramics week two


Ready?  Okay!
 
 
We had a lot more time on the wheel in week two, only a short review demo by the instructor, Wendy.  After the demo, we went step-by-step together centering the clay and forming a basic shape.  Then we were left to practice, with Wendy answering questions and walking around to give help. 
 
Let's see if I can remember the initial steps:
 
1) Wedge, wedge, and wedge some more.  This is sort of like kneading dough in baking, but a lot more physical.  The purpose in ceramics is to have consistent material, get out air bubbles, and get the mound in a shape that will make centering easier.
 
2) Get the clay on the wheel, ideally right in the center.  If not, skootch it around until it looks like it is. 
 
3) Start the wheel, get your hands and the clay wet and slippery. 
 
4) Center
 
5) Make a depression in the center, going almost all the way down.  Check the depth of the bottom, using the pin tool.  If okay, move on, if not make thinner or thicker as needed. 
 
6) Open the shape to the desired circumference.  Compress the bottom.  Pull the walls up, shape.
 
7) Grab a board (it has a name, I forget), and have it very nearby for transferring your creating.  Hold the wire taught at the base of the piece.  Very slowly turn the wheel, cutting the clay free from the wheel.  Hold gingerly, with a light turning motion pick the piece up close to the bottom and transfer quickly to the board. 
 
 
Of course Wendy makes it look like no big whoop, the rest of us are a wet lopsided mess.  I am so thankful for all that teach beginning anything.  They are so patient!  I really appreciate Wendy's philosophy, which is:  we are beginners, and should be patient with ourselves.  Learning any new skill takes time.  Enjoy the process, don't worry about production, and just have fun getting messy!
 
I can dig it!
 
Be back soon with an update for photography class.
 
Hugs,
Tara       


Ceramics!
 
 
Clay that has been wedged and is ready for the wheel.
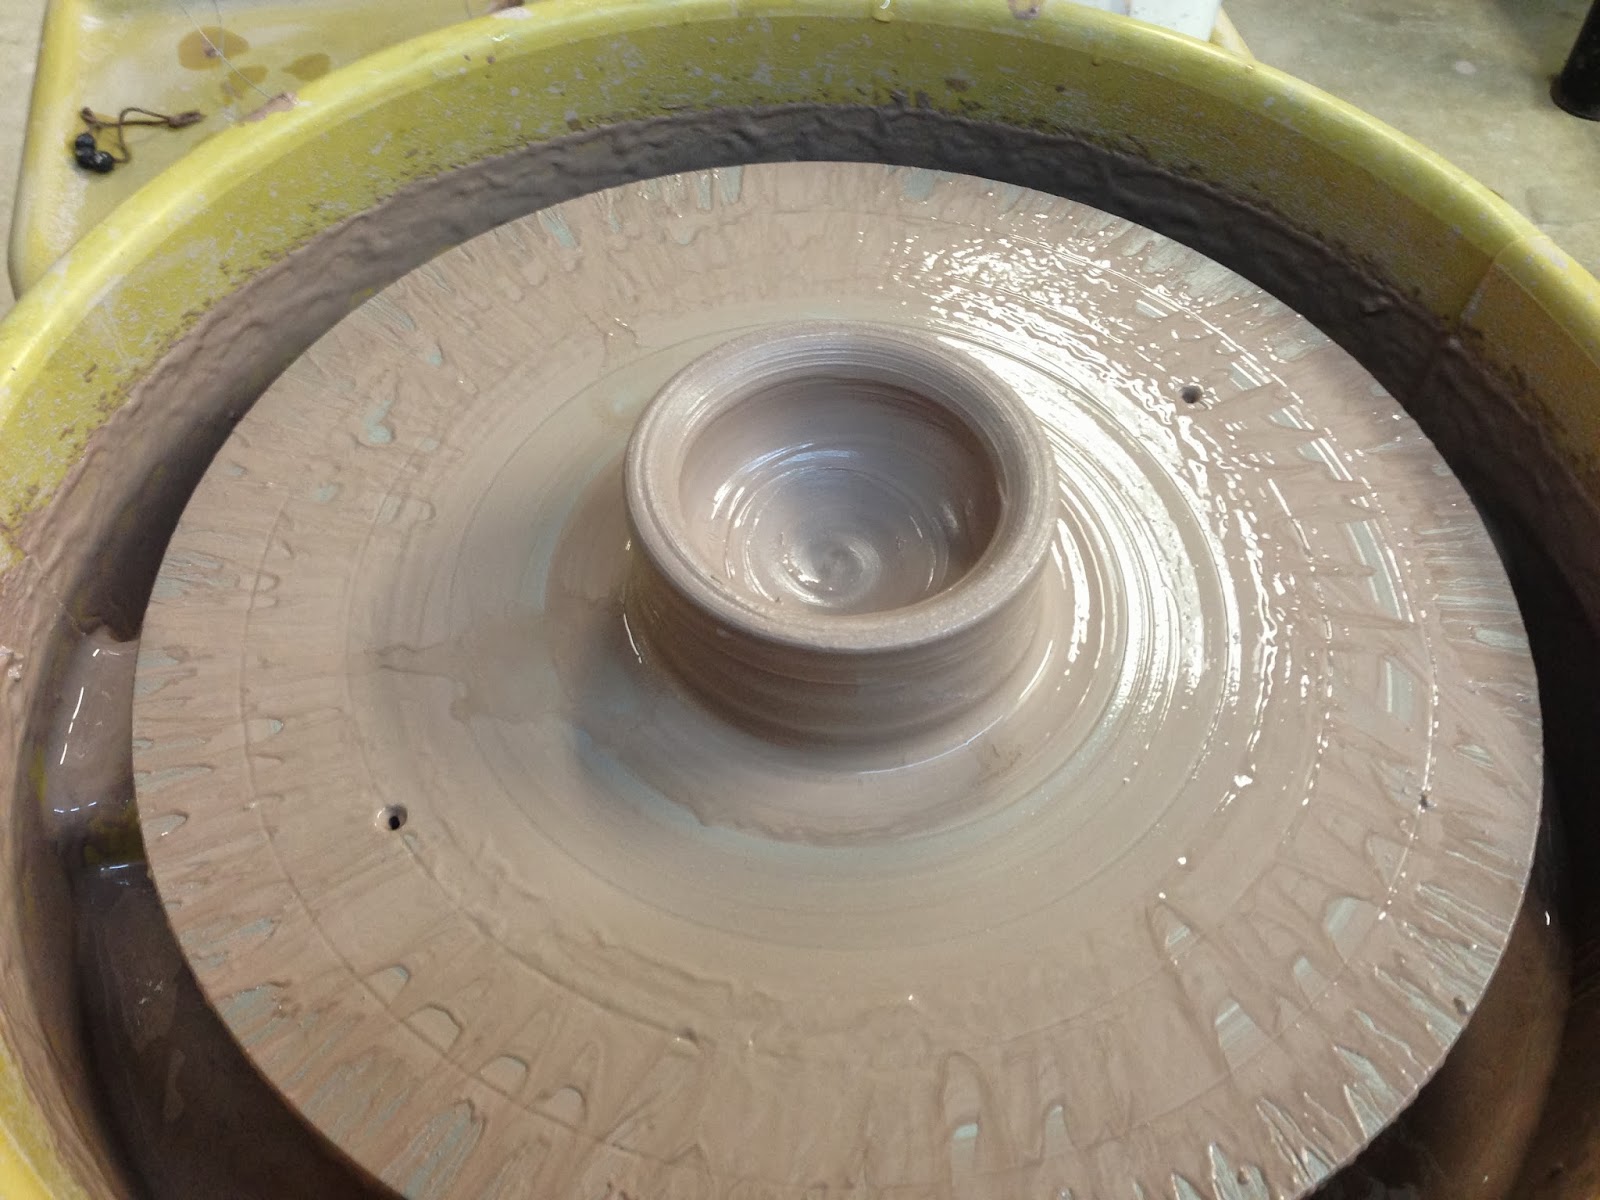
 
 
Centered
 
 
Yay, I made a small pitcher (foreground)! 
A vase by the instructor during the demo is in the background.
 
 
A pitcher made by the instructor last week.  It is now
"soft-leather hard," a good time to do any trimming.


 Tools


Smocks
 
 
Land of too wet clay, drying out on a plaster slab.
 
 
Something on my shelf!


Wednesday, October 16, 2013

Wheels spinning 'round - ceramics week one


I took a ceramics wheel throwing course, oh, 15 years ago, when I worked at the Art Institute of Chicago.  A perk was free courses at the School of the Art Institute.  It was a non-credit class on Sunday afternoons.  Lately, my fingers had been asking to do ceramics again.  But it was actually a search for a photography class that led to taking a ceramics class now.  It is another non-credit class, with Northwestern University's Norris Mini Courses.     
 
Our first class was primarily introductions, review of studio procedures, and how to get started demonstrations by the instructor.  We spent some time towards the end of class on the wheel.  It was as fun, and hard, as I remembered.  I think my fingers did retain some little bit of knowledge, I didn't feel like I was starting from zero.  We'll see how it goes this week when we have more time on the wheel.  I plan to arrive a little early, as I have to leave promptly to get to photo class.  We're welcome to use the studio any time it is open, giving priority to classes.  Here are a few photos from last week.  Not sure how many I'll get each week, it's hard to use a camera with clay-covered hands!


Garfield Park Conservatory and Photography Class Week One


I've been wanting to take a photography class for awhile, and last week I happened upon a flier for the non-credit program at Northwestern University, Norris Mini Courses, just a few days before the class began.  It's a nice program, affordably priced, and not far from our house.  I also registered for a ceramics class, which I'll write about in a separate entry. 
 
I've had a lot of fun noodling around with the Cannon EOS Rebel T3i I got last summer, took an afternoon "how to use your camera" course thanks to my thoughtful husband, and did two short e-courses.  I was at a point I wanted technical help for tricky photo situations (e.g. lighting, movement), I was ready to expand my subjects, and I do well as a classroom learner.  The timing was also good, as I'm "less-employed" (the labor department would probably call the situation under-employed) and it is good to have a regular thing to do outside the house involving other people.      
 
Week One was mostly an overview of the course, introductions, and getting to know our cameras and the buttons and dials.  Reading the manual was one assignment.  I've been told numerous times to read the manual, and this time I actually did.  I wish I had sooner, good info in there!   
 
I had the idea to head to the Garfield Park Conservatory to take shots for the other assignment, which was to explore the camera settings and have a few images to share with the class.  I've only been to  Garfield Park one other time, in the late '90s, for the Dale Chihuly exhibit.  If you live in or visit the Chicago area, go to the Garfield Park Conservatory.  It's lovely, and visiting feels like a mini-adventure, definitely a respite from the urban environment.  And it's free!  There is a parking lot, I found easy street parking, and it is right by the green line "Conservatory" stop. 
 
The park is set within Chicago's boulevard system, traversing it makes me feel like I've stepped back in time.  Sadly, some boulevards run through neighborhoods that have declined.  As gentrification happens, areas have seen renewal.  There is a small gift shop at the Conservatory, but no other amenities, so eat before you go!  I found out too late there is a new Garfield Park location of Inspiration Kitchen nearby.  Next time I go to the Conservatory I'll plan to have a meal there. 
 
The Conservatory currently has a special Wind Chime exhibit until November 11.  A cheerful volunteer gave me a map and tips for my visit.  All ages were there, as well as a variety of group sizes and ethnicities.  There are a number of attractions geared toward children, and the kids I saw seemed to be having a great time.  Areas are under renovation, due to hail damage suffered during a storm a few years ago. 
 
Below are some images I took during my visit (and one taken by another visitor!).  The Garfield Park Conservatory is certainly a gem in Chicago, and I'm glad I took the time to go.  Drop me a note if you have suggestions for other photo adventures!