 |
| My little gallery! These pieces have been trimmed on the wheel. See below for pre-trimming. |
Ceramics class sure is going quickly! We only have two more classes left, plus the raku firing. We continue to work on centering and pulling up cylinders. Wendy, the instructor, gives us gentle reassurances to be patient and keep up the good work.
Last week we had learned to trim pieces manually, and this week we added in trimming on the wheel. We also learned to use the bat, and shape a bowl. Throwing on the bat is useful if you would like to make something with a larger base, or is delicate. A bat is simply a circular board that is temporarily attached to the wheel. The clay is shaped on the bat. The bat then goes with the piece to the drying rack. The piece is relatively undisturbed. One must still cut the bottom with a wire, otherwise it will stick.
I went to the studio outside of class time, and will likely do so this week as well. It seems necessary to use all the clay over the course of the class, given how often "do-overs" happen and how slowly we work.
Be back soon!
Hugs,
Tara
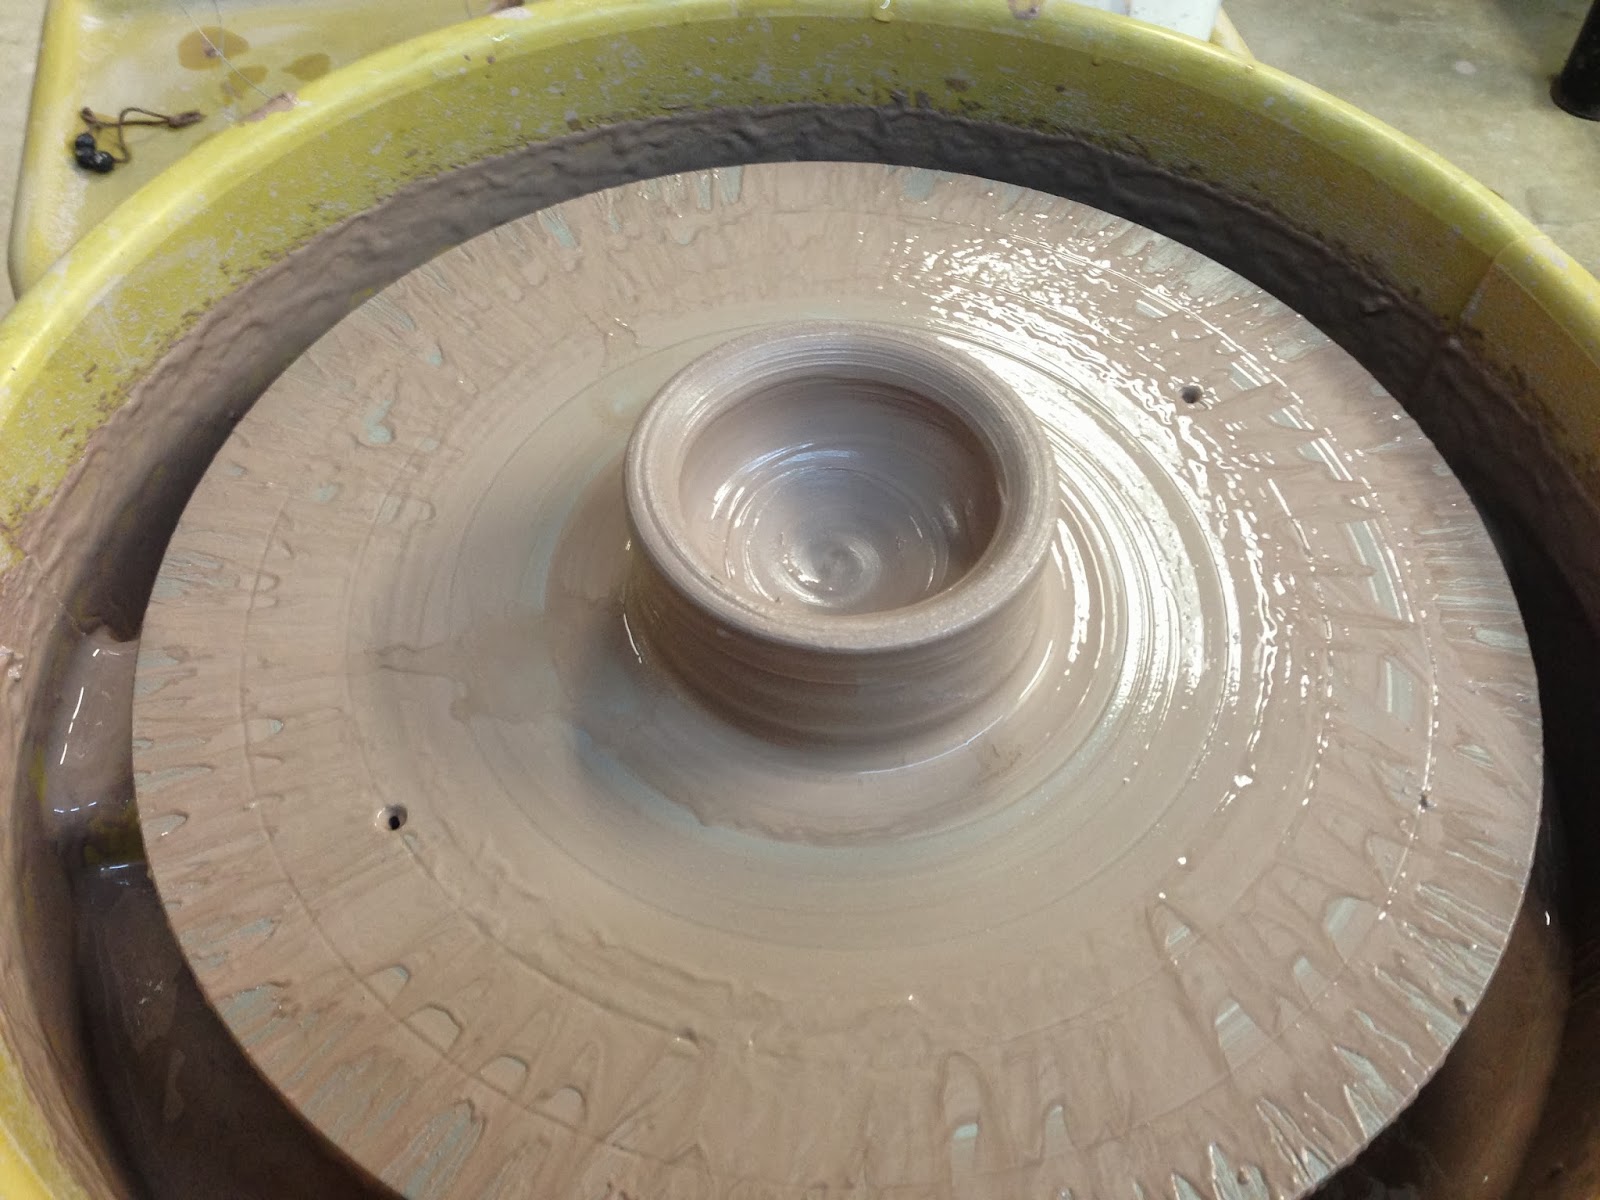
.JPG "trimming on the wheel") |
| Trimming on the wheel demonstration by the instructor. |
.JPG "pieces before trimming") |
| Pieces pre-trimming. See above for after. |
.JPG "laces for patterns on clay") |
| Laces for making patterns on the clay, also molds and hand-building tools. |
.JPG "making pattern on clay") |
| Put the lace over the clay and lightly tap. Hold the piece on the inside so it does not get misshapen. |
.JPG) |
| The effect |
 |
| Using a curved tool to shape a bowl. This bowl was thrown "on the bat." |
.JPG "electric kiln") |
| Electric kilns |
 |
| Bisqueware has had one firing. |
.JPG "glazeware") |
| Glazeware is ready for the second and final firing. |
.JPG "raku clay") |
| Raku clay, which I will start working with next time I'm in the studio to be ready for the special raku firing. |
.JPG "clay bear") |
| And a very cute bear, hand-built by one of my classmates. |
*****
Catch up with the previous adventures in ceramics:
You spin me right round, baby - ceramics weeks two
I'm going round and round again - ceramics week three
I'm going round and round again - ceramics week three
*****
Join the Small Beauty Everywhere companion Facebook page,
a community for sharing beauty found in everyday life.
*****


.JPG "small cylinder")
.JPG "small ceramic pitcher")
.JPG "small ceramic pitcher with handle")
.JPG "greenware")
.JPG "raku examples")


.JPG)
.JPG)

.JPG)
.JPG)
.JPG)
.JPG)
.JPG)
.JPG)
.JPG)

.JPG)
.JPG)
.JPG)
.JPG)
.JPG)