Wednesday, March 5, 2014

Mini-adventure - Howdy, MAM!

 
Milwuakee Art Museum - lakeside view
 
 
I've passed by the Milwaukee Art Museum (MAM) at least a dozen times.  Truly, walked right by the exterior as my family participated in the Milwaukee Komen Race for the Cure.  I had a free morning on the way to see my sister and family in the outskirts, so finally made my way inside.  
 
Surely I could have made the time sooner to see this beautiful piece of architecture.  Much of the time my sister has lived in Milwaukee overlapped with the years I worked at the Art Institute of Chicago (AIC).  Museum fatigue was part of the delayed visit, spending Monday - Friday at a museum left me disinclined to spend my free time in one.  It was probably also a little snobbery, what could a little museum in Milwaukee possibly offer that wasn't on display at the AIC?
 
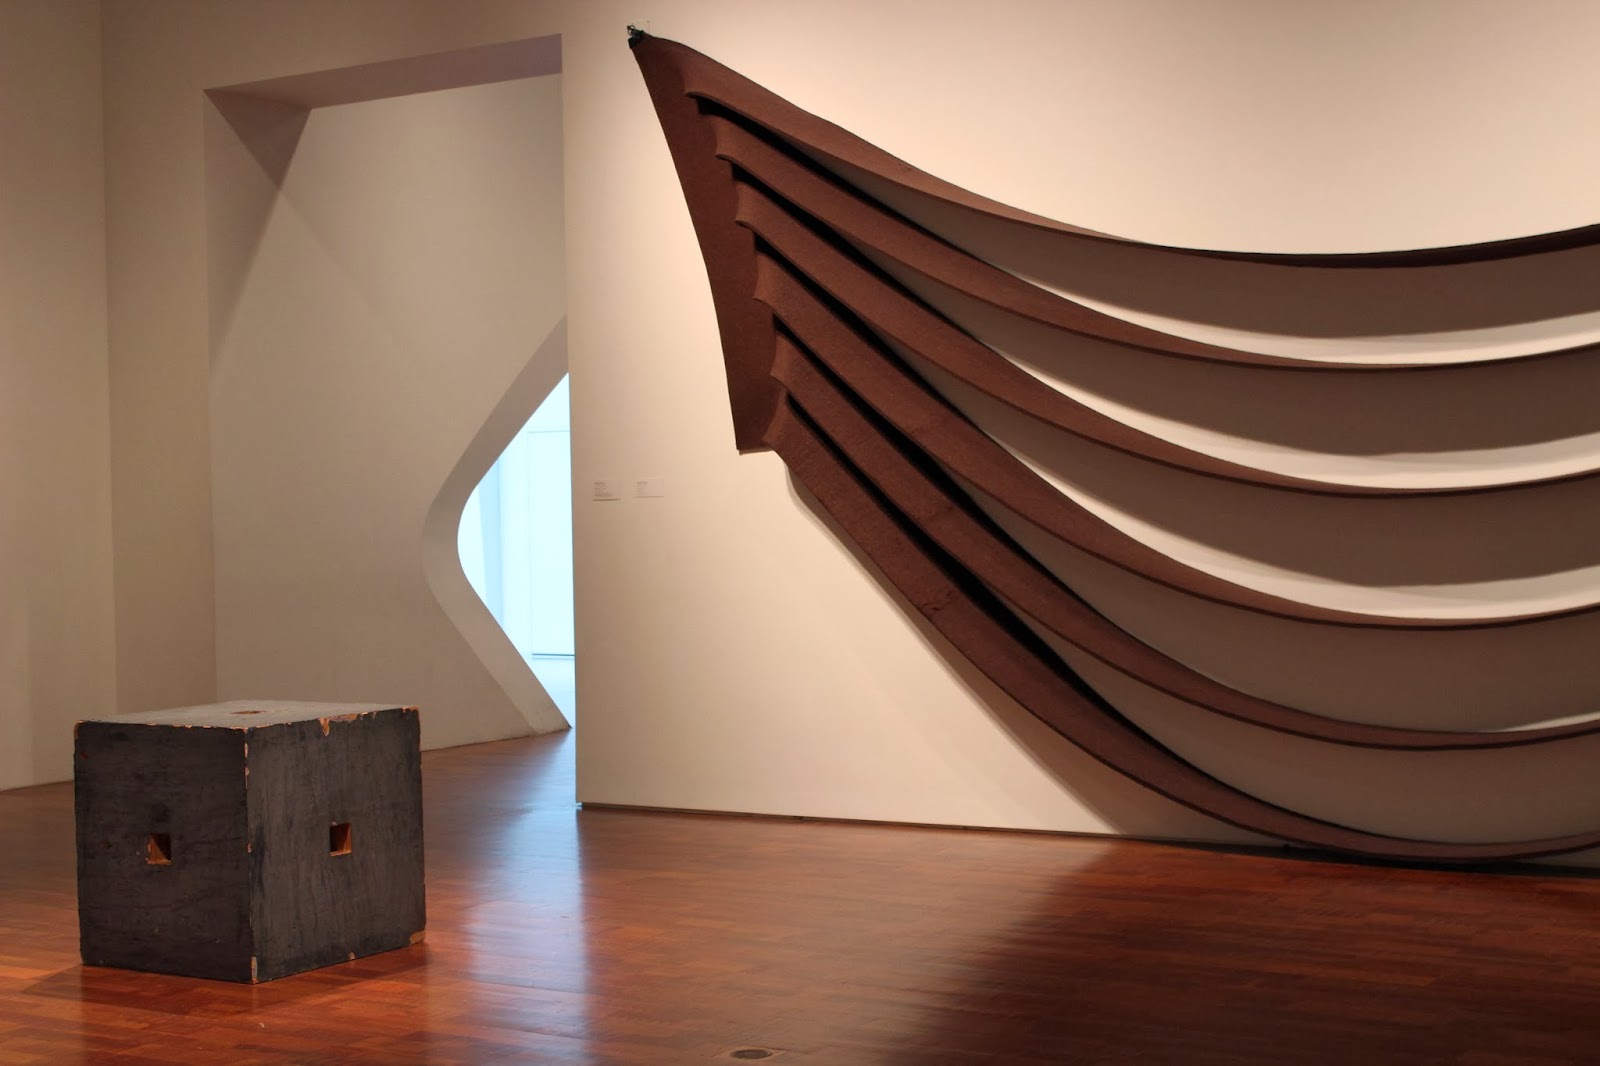
Shame on me!  The MAM is a delightful museum, and all in the Milwaukee area should plan a visit.  For me, the star of the show is the museum itself, specifically the 2001 Quadracci Pavilion addition designed by Spanish architect Santiago Calatrava.  Read more on the MAM webpage.  I planned my visit around the scheduled (weather permitting) noon opening and closing of the Burke Brise Soleil.  The "wings" are a 217-foot moveable sunscreen.  The day of my visit was rather cold and windy, so the wings did not open fully.  Or I missed it.  I went out to watch, nothing happened, so I went back in, only to see from the inside the wings were opening and went back outside.  As I said, it was very cold!
 

Me waiting for the "wings" show.
 
"Wings" in the closed position (left) and semi-open (right).


 This was my second visit to a small museum in the past few months.  When in Florida earlier this year, I met a friend at the Polk Museum of Art in Lakeland.  Snobbery over, I'm rather enjoying smaller museums.  They feel more intimate, and are certainly more manageable.  Big museums like the Art Institute have stellar collections, but it is impossible for a day-visitor to see the entire facility.  In that regard, I am grateful for my time at the AIC, as I saw the collection over time.  
 
MAM has its share of "big names."  Georgia O'Keeffe in particular is well represented, with several galleries devoted to her works.
 
Chagall, O'Keeffe, Monet
 
Calder

Bertoia


"The Last of the Spartans"

 
At the time of my visit, the primary special exhibition was "Uncommon Folk:  Traditions in American Art."  As the name implies, it is a collection of American folk works and self-taught artists.  Drawn from the museum's permanent collection, the brochure describes it as "a captivating visual feast."  I enjoyed it for the display of beauty, pride, and care that people take in their "everyday" objects.  We all have our own creativity and artist lurking inside.   
 
Collage of works in the "Uncommon Folk" exhibit
 
Another special exhibit was "Flow," a celebration of the upcoming National Council on Education in the Ceramic Arts conference (March 19-22).  I found this interesting because of the ceramics classes I have been taking.  A lot of inspiration, ideas, and questions on technique to ask my teacher.  I also found it a good use of a light-filled gallery.  I really enjoyed all the exterior views in the museum, but I know how troublesome sunlight can be for curators and conservationists.  Ceramics are, in general, a more durable art form, and can withstand the harmful effects of sunlight.   
 
 
"Flow" exhibition

"Valentine" by Michelle Erickson, part of the "Flow" exhibit
 
Enjoyments, notes, and miscellaneous:
 
1)  As I mentioned previously, one of my favorite things about the museum was the view to the lake.  Had it been a sunnier day, this would have been even more enjoyable.
 
2)  I also enjoyed the ship-like elements.  MAM is perched right on Lake Michigan's western shore, ready to go forth and share art. 
 
3)  Staff and volunteers super friendly and helpful!  Some volunteers even gave me the tip to be sure to see the garage, as the Calatrava design carries through.  Indeed, it may be the nicest garage I've ever seen. 
 
4)  Watching the "wings" open and close is free to any and all passing by. 
 
5)  If you are short on time, or art just isn't your thing, I think if you just wanted to pop in and see Windhover Hall (grand reception hall), no one would hassle you.  It's beautiful.   
 
6)  The museum was not busy at all, many galleries I had to myself.  I did visit midday on a weekday in February, so that is probably a factor.
 
7)  Loved seeing all the school groups!  Art and kids are made for each other, it warms my heart to see them together in museums. 
 
8)  Speaking of kids and art, also on display during my visit was the 2014 Scholastic Art Awards.  There are some truly talented student artists in Wisconsin.
 
9)  I spent about 3 hours there, including a cafĂ© sustenance break.  I took a lot of time with photography, and going in and out for the wings.  I'm more of an art glancer than deep ponderer.  In all, I think I could have used maybe 30-60 minutes longer for a first visit. 
    
10)  Lockers available for 50 cents.  50 cents!  No wait. 
 
11)  Parking in the north lot was $6 for as long as I wanted. 
 
12)  The museum has an abundance of much appreciated benches, water fountains, and toilet rooms throughout.        
 
13)  And there is actually yoga at the museum once a month. 
 
See you back here soon for another mini-adventure.
 
Hugs,
Tara
 
Fancy pants garage
 
Looking out to Lake Michigan
 
Inside the Burke Brise Soleil

Contemporary galleries
 
Your correspondent


Monday, November 4, 2013

I'm just sitting here watching the wheels go round and round - ceramics week four

trimmed on the wheel
My little gallery!  These pieces have been trimmed on the wheel.
See below for pre-trimming. 


Ceramics class sure is going quickly!  We only have two more classes left, plus the raku firing.  We continue to work on centering and pulling up cylinders.  Wendy, the instructor, gives us gentle reassurances to be patient and keep up the good work. 

Last week we had learned to trim pieces manually, and this week we added in trimming on the wheel.  We also learned to use the bat, and shape a bowl.  Throwing on the bat is useful if you would like to make something with a larger base, or is delicate.  A bat is simply a circular board that is temporarily attached to the wheel.  The clay is shaped on the bat.  The bat then goes with the piece to the drying rack.  The piece is relatively undisturbed.  One must still cut the bottom with a wire, otherwise it will stick. 

I went to the studio outside of class time, and will likely do so this week as well.  It seems necessary to use all the clay over the course of the class, given how often "do-overs" happen and how slowly we work. 

Be back soon!

Hugs,
Tara


trimming on the wheel
Trimming on the wheel demonstration by the instructor.

pieces before trimming
Pieces pre-trimming.  See above for after.

laces for patterns on clay
Laces for making patterns on the clay, also molds and hand-building tools. 

making pattern on clay
Put the lace over the clay and lightly tap. 
Hold the piece on the inside so it does not get misshapen.
 
The effect 

bowl curved tool
Using a curved tool to shape a bowl. 
This bowl was thrown "on the bat." 

electric kiln
Electric kilns

bisqueware
Bisqueware has had one firing.
 
glazeware
Glazeware is ready for the second and final firing.
 
raku clay
Raku clay, which I will start working with next time
I'm in the studio to be ready for the special raku firing.
 
clay bear
And a very cute bear, hand-built by one of my classmates.
 
*****
 
Catch up with the previous adventures in ceramics:


*****
 
Join the Small Beauty Everywhere companion Facebook page,
a community for sharing beauty found in everyday life.
 
*****


Wednesday, October 30, 2013

Field trip! Photography Class Week Three


In week three we got out of the studio (classroom), and took a field trip to a women's volleyball game, Northwestern vs. Illinois.  We were encouraged to take photos using shutter priority.  This is a semi-manual function, where the user controls the shutter speed (and other things like ISO and white balance), and the camera will automatically select the right aperture setting.  Aside from capturing the action, we were tasked with telling the story of the entire experience. 

Here are a few shots I took at the game, and also a few I took at home later in the week.  There is a sort of selfie in one of the photos, see if you can spot me!

Be back soon.

Hugs,
Tara


Check out other photography class adventures:


Monday, October 28, 2013

I'm going round and round again - ceramics week three

small ceramic cylinder
Small ceramic cylinder
 
 
Week three of ceramics was much the same as week two.  Practice, practice, practice!  We went straight to work, and Wendy the instructor came around to answer questions and trouble shoot.  I've gotten okay at centering and building a basic small cylinder.  It would be nice to do some other shapes and sizes.  Next class we will have a demonstration on bowls, and, by request, mugs. 
 
While I was working, it occurred to me ceramics has some things in common with Thai bodywork and Buddhist meditation.  The first connection to Thai massage is that you have to listen to the clay, as you would listen to a client's body.  You have to be quiet in your own mind so you can observe the conditions.  You also must have a steady and firm grip, but not grasping.  In ceramics, if you push too hard, you'll go off center or create a lump, or even ruin the piece all together.  Thai bodywork has also helped me be more aware of when I'm holding in my own body, and I've caught myself at the wheel plenty of times being taut in the hands, overly hunched in the shoulders, and tense in the hips.  Relaxing or even taking a little stretch is nice.  It can also help to get up entirely, and look at your piece from a different angle. 
 
Which brings me to the connection with Buddhist meditation, and the idea of non-attachment.  Especially as a beginner, there are just so many things that can go "wrong;" a finished piece definitely isn't guaranteed.  Today I went to the studio for extra practice.  I had a piece finished and was getting the wire ready to take it off the wheel.  It somehow snagged, and the wire handle irreparably gouged the side.  Clay is a delicate thing - it could dry too quickly before it can be trimmed, explosions happen in the kiln, it can be handled indelicately and shatter. 
 
But back to the class!  A few of us had items that were ready for the next step, trimming.  We also had a lesson in handle making and attaching.  See below for my little pitcher moving on. 
 
In a few weeks there will be a raku firing, and we are invited to prepare items for it.  There is another type of clay used.  It looks lighter in color, but otherwise I'm not sure how it is different than the brown clay we've been using.  I'll find out and report back.  The firing itself it a low-fire method, done outside, with lead glazes and sometimes combustible materials (e.g. grasses, leaves, even hair) that will leave an imprint on the clay.  Pieces made through this method are somewhat porous, and not food safe.
 
Here is a short video of a raku firing.  Looks fun!  I'm planning to participate, so I should start making items next class.  Let's hope for decent weather, November in Illinois can really be dicey. 
 
Be back soon!
 
Hugs,
Tara
 

small cylinder
Oh look, a small cylinder. 
 
    
small ceramic pitcher
The small pitcher from week two is now trimmed.
 
 
small ceramic pitcher with handle
And now it has a wee handle.


greenware
The little pitcher (bottom right) ready to dry more and the first firing. 


raku examples
Raku examples

*****
 
Catch up with the previous adventures in ceramics:


*****
 
Join the Small Beauty Everywhere companion Facebook page,
a community for sharing beauty found in everyday life.
 
*****

Sunday, October 27, 2013

Photograph, all I've got is a photograph - photography class week two


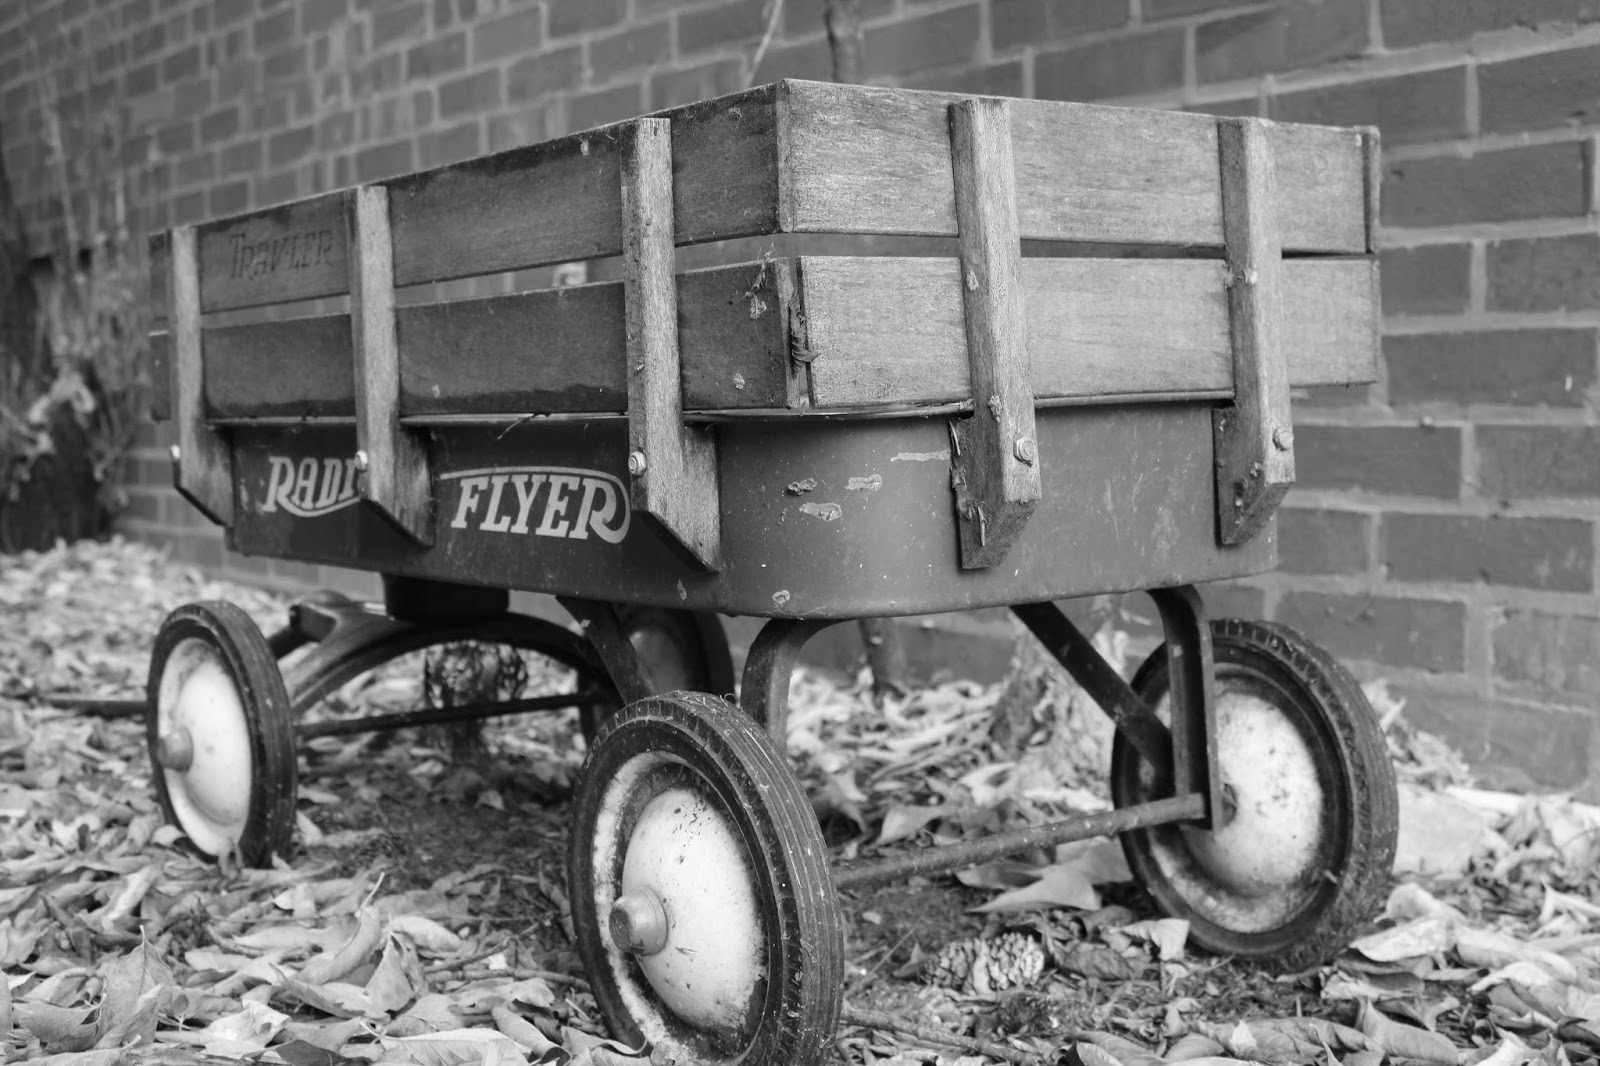
 Radio Flyer wagon
 
 
Class opened with a short show and tell period.  It was great fun to see what fellow students had been working on.  The primary topic covered in class was EXPOSURE!  Proper exposure is key to a successful photograph.  It can also be a little subjective, and can be manipulated for artistic purposes.  We discussed the tool of bracketing.  This concept is taking the same photo with slightly different settings.  In this case, all settings remain the same, then using the exposure compensation function, "under" expose and "over" expose the photo two increments each way.  What turns out to be the "best" photo may be surprising!     
 
We were asked to shoot on black and white (this is the monochrome setting on my Cannon), as the instructor feels this is a clearer way to see proper exposure in a photo.  If the photo is done well, details should be visible in both the lightest and darkest areas of the picture.  I have done very little black and white photography with this camera.  I didn't even know where the function was to change it until this course and reading the manual.  I have switched a few photos in post-production editing, but a lot of what draws my eye is vivid color.  It took a bit to adjust my view to seeing good b&w opportunities. Once I got rolling, I really enjoyed it!  After all, one of the reasons I took a photography class was to expand my subjects. 
 
Another concept we worked on is low key and high key lighting.  The former is an overall darker image, with dramatic light and a good amount of shadows.  The latter then being the opposite, a very uniform brightly lit scene.  Think baby photos.  This exercise sort of surprised me, I found it difficult to take successful high key pictures.  I don't know if it was the black and white, which to me just feels moodier and more aligned with low key lighting.  Or maybe it is our house, which is old (1921) and overall shadowy.  It wasn't until a few days I ago I took to using the second floor as a sort of photography studio, which has skylights and white walls, for more even lighting.  I was challenged with the low key lighting, in that I don't have a tripod.  So all sorts of chairs, books, and even yoga blocks, were used as make-shift structures.   
 
Lastly, we were asked to think about different ways to shoot a subject.  Get physical, and interact with the subject.  Straight on isn't always the most interesting angle.  We had a short slide show of some influential black and white photographers for inspiration. 
 
Photography continues to be a great joy, and I'm learning a lot in the class. 
 
Until next time!
 
Hugs,
Tara
 
 
 Edgebrook Motel
 
 
teapot & teacup


Carl the ct


cyclamen


old window latches


whistling tea kettle


Moka pot


radiator cover


Ash the cat


See more adventures in photography class:


*****
 
Join the Small Beauty Everywhere companion Facebook page,
a community for sharing beauty found in everyday life.
 
*****