Tuesday, October 22, 2013

You spin me right round, baby - ceramics week two


Ready?  Okay!
 
 
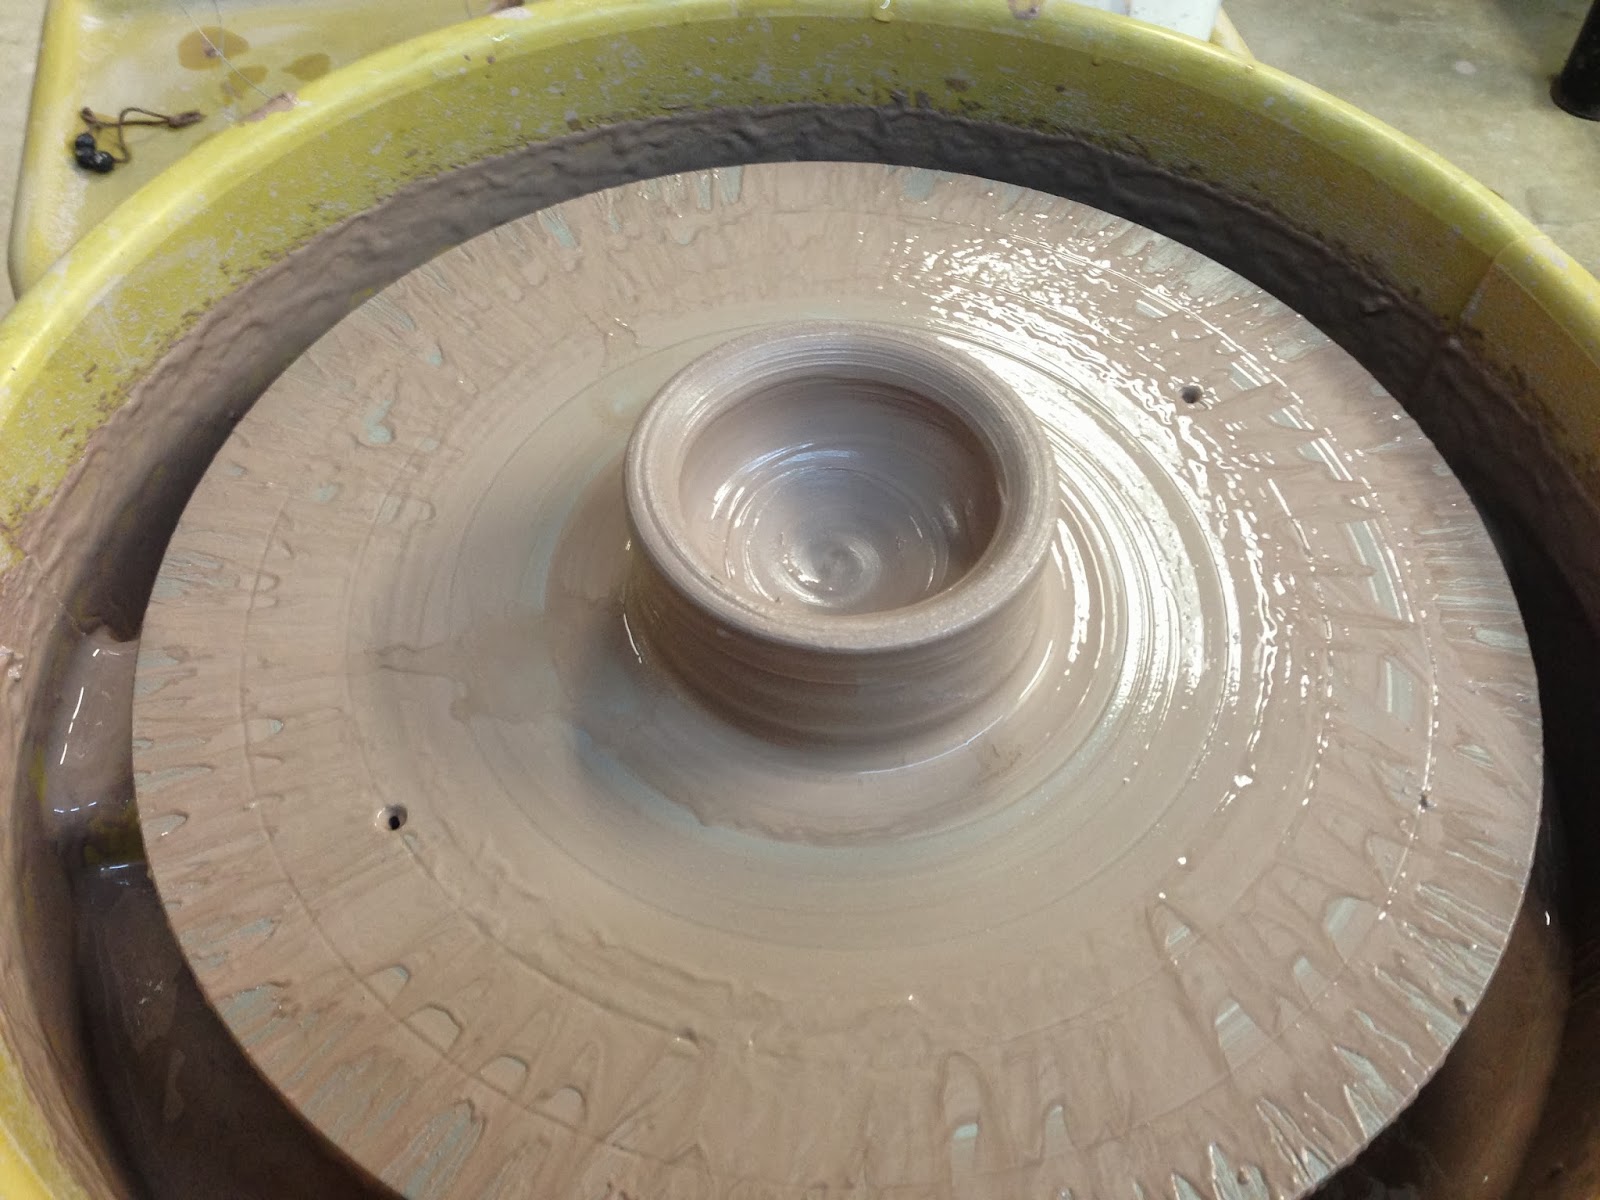
We had a lot more time on the wheel in week two, only a short review demo by the instructor, Wendy.  After the demo, we went step-by-step together centering the clay and forming a basic shape.  Then we were left to practice, with Wendy answering questions and walking around to give help. 
 
Let's see if I can remember the initial steps:
 
1) Wedge, wedge, and wedge some more.  This is sort of like kneading dough in baking, but a lot more physical.  The purpose in ceramics is to have consistent material, get out air bubbles, and get the mound in a shape that will make centering easier.
 
2) Get the clay on the wheel, ideally right in the center.  If not, skootch it around until it looks like it is. 
 
3) Start the wheel, get your hands and the clay wet and slippery. 
 
4) Center
 
5) Make a depression in the center, going almost all the way down.  Check the depth of the bottom, using the pin tool.  If okay, move on, if not make thinner or thicker as needed. 
 
6) Open the shape to the desired circumference.  Compress the bottom.  Pull the walls up, shape.
 
7) Grab a board (it has a name, I forget), and have it very nearby for transferring your creating.  Hold the wire taught at the base of the piece.  Very slowly turn the wheel, cutting the clay free from the wheel.  Hold gingerly, with a light turning motion pick the piece up close to the bottom and transfer quickly to the board. 
 
 
Of course Wendy makes it look like no big whoop, the rest of us are a wet lopsided mess.  I am so thankful for all that teach beginning anything.  They are so patient!  I really appreciate Wendy's philosophy, which is:  we are beginners, and should be patient with ourselves.  Learning any new skill takes time.  Enjoy the process, don't worry about production, and just have fun getting messy!
 
I can dig it!
 
Be back soon with an update for photography class.
 
Hugs,
Tara       


Ceramics!
 
 
Clay that has been wedged and is ready for the wheel.
 
 
Centered
 
 
Yay, I made a small pitcher (foreground)! 
A vase by the instructor during the demo is in the background.
 
 
A pitcher made by the instructor last week.  It is now
"soft-leather hard," a good time to do any trimming.


 Tools


Smocks
 
 
Land of too wet clay, drying out on a plaster slab.
 
 
Something on my shelf!


Wednesday, October 16, 2013

Wheels spinning 'round - ceramics week one


I took a ceramics wheel throwing course, oh, 15 years ago, when I worked at the Art Institute of Chicago.  A perk was free courses at the School of the Art Institute.  It was a non-credit class on Sunday afternoons.  Lately, my fingers had been asking to do ceramics again.  But it was actually a search for a photography class that led to taking a ceramics class now.  It is another non-credit class, with Northwestern University's Norris Mini Courses.     
 
Our first class was primarily introductions, review of studio procedures, and how to get started demonstrations by the instructor.  We spent some time towards the end of class on the wheel.  It was as fun, and hard, as I remembered.  I think my fingers did retain some little bit of knowledge, I didn't feel like I was starting from zero.  We'll see how it goes this week when we have more time on the wheel.  I plan to arrive a little early, as I have to leave promptly to get to photo class.  We're welcome to use the studio any time it is open, giving priority to classes.  Here are a few photos from last week.  Not sure how many I'll get each week, it's hard to use a camera with clay-covered hands!


Garfield Park Conservatory and Photography Class Week One


I've been wanting to take a photography class for awhile, and last week I happened upon a flier for the non-credit program at Northwestern University, Norris Mini Courses, just a few days before the class began.  It's a nice program, affordably priced, and not far from our house.  I also registered for a ceramics class, which I'll write about in a separate entry. 
 
I've had a lot of fun noodling around with the Cannon EOS Rebel T3i I got last summer, took an afternoon "how to use your camera" course thanks to my thoughtful husband, and did two short e-courses.  I was at a point I wanted technical help for tricky photo situations (e.g. lighting, movement), I was ready to expand my subjects, and I do well as a classroom learner.  The timing was also good, as I'm "less-employed" (the labor department would probably call the situation under-employed) and it is good to have a regular thing to do outside the house involving other people.      
 
Week One was mostly an overview of the course, introductions, and getting to know our cameras and the buttons and dials.  Reading the manual was one assignment.  I've been told numerous times to read the manual, and this time I actually did.  I wish I had sooner, good info in there!   
 
I had the idea to head to the Garfield Park Conservatory to take shots for the other assignment, which was to explore the camera settings and have a few images to share with the class.  I've only been to  Garfield Park one other time, in the late '90s, for the Dale Chihuly exhibit.  If you live in or visit the Chicago area, go to the Garfield Park Conservatory.  It's lovely, and visiting feels like a mini-adventure, definitely a respite from the urban environment.  And it's free!  There is a parking lot, I found easy street parking, and it is right by the green line "Conservatory" stop. 
 
The park is set within Chicago's boulevard system, traversing it makes me feel like I've stepped back in time.  Sadly, some boulevards run through neighborhoods that have declined.  As gentrification happens, areas have seen renewal.  There is a small gift shop at the Conservatory, but no other amenities, so eat before you go!  I found out too late there is a new Garfield Park location of Inspiration Kitchen nearby.  Next time I go to the Conservatory I'll plan to have a meal there. 
 
The Conservatory currently has a special Wind Chime exhibit until November 11.  A cheerful volunteer gave me a map and tips for my visit.  All ages were there, as well as a variety of group sizes and ethnicities.  There are a number of attractions geared toward children, and the kids I saw seemed to be having a great time.  Areas are under renovation, due to hail damage suffered during a storm a few years ago. 
 
Below are some images I took during my visit (and one taken by another visitor!).  The Garfield Park Conservatory is certainly a gem in Chicago, and I'm glad I took the time to go.  Drop me a note if you have suggestions for other photo adventures!        


Sunday, October 13, 2013

Rose's Famous Caramel Cake

Rose's Famous Caramel Cake
 
 
Surely Rose is a better woman than me for making this cake so often she become famous for it.  Rose Deshazer-White was (is?) a longtime South Side Chicago resident, this recipe appeared in the Chicago focused issue of Saveur magazine.  It is a delicious and impressive cake, but it is definitely a Special Occasion Cake.  First, it takes awhile, not the recipe to whip up for an impromptu gathering.  Secondly, it is a big, decadent cake; a little sliver is plenty.  You'll want a crowd to eat it up. 
 
Or maybe it would be more specific to say it is special occasion frosting.  It cooks for a long time, and needs just enough babysitting so you can't really be otherwise very productive.  The cake is pretty straightforward; a light, delicate-crumbed, buttery vanilla cake, made using a standard creaming method.  It would be quite nice with a fudge frosting, or even sliced strawberries and fresh whipped cream.  Heck, I was pretty happy eating the plain trimmed tops.      
 
I will also confess, caramel is something I struggle with in the kitchen.  It requires strict precision in technique and temperature.  A little cool and the caramel will be soft, too hot and it will be brittle.  Caramel waits for no cook, you must work quickly and carefully.  A caramel slip doesn't just burn, it brands the skin.  But not to dissuade you!  Maybe caramel isn't your white whale, it could be pie crust or soufflé or custard.  We all have something that doesn't come easily. 
 
This special occasion was a few weeks ago, the Second Annual Charity Auction BBQ.  The employees at the company where Adam works (Jellyvision - super cool company, check 'em out) contribute prizes, the employees bid on the prizes, and the funds raised go to charity.  Adam (and I) contributed BBQ (pulled pork and brisket), sides, and dessert.  Last year we brought the food to the winner's house, the same person won this year (and was pretty clear he would win again next year) and we hosted at our house. 
 
Try this for your next special occasion.  Drop me a note and post a photo of the finished product.  And let me know, what is your culinary challenge?

Hugs,
Tara
 
 
The cakes before leveling.
 
 
After adding the evaporated milk.  Stir stir stir! 
Be sure your pot has plenty of room for the bubbling mixture.
Add the milk very slowly and carefully, it will foam vigorously. 
 
 
The mixture is smooth, now to get it up to temperature. 
 
 
Almost there.
 
 
Off the heat, stir stir stir!
 
 
Frank during the dinner party.   
 
 
The reward for your efforts, time to eat Rose's Famous Caramel Cake!
 
 
Rose's Famous Caramel Cake
From Saveur Issue #105 
Makes one large cake
 

INGREDIENTS
16 tbsp. unsalted butter, softened
3¼ cups cake flour
1 tbsp. baking powder
½ tsp. salt
6¼ cups sugar
2 tsp. vanilla extract
4 eggs
1¼ cups milk
16 tbsp. salted butter
2 12-oz. cans evaporated milk
 
INSTRUCTIONS
1. Heat oven to 350°. Making sure all ingredients are at room temperature, grease two 9" round cake pans with 1 tbsp. unsalted butter; dust with 1½ tbsp. flour, tap out excess, and set aside. Sift flour, baking powder, and salt together; set aside. Beat remaining unsalted butter and 2½ cups sugar in a bowl with an electric mixer until fluffy. Add vanilla and eggs one at a time, beating after each addition. Add flour mixture and milk alternately in 3 batches, beating smooth after each addition. Divide batter between pans. Bake until golden, 30–35 minutes. Let cool on a rack for 10 minutes; remove cakes; let cool completely. Slice tops off cakes to level them.
 
2. To make icing, cook remaining sugar and salted butter in a pot over high heat, stirring constantly, until light brown, 7–8 minutes. Carefully stir in evaporated milk; reduce heat to medium-low; cook, stirring constantly, until smooth, 8–10 minutes. Cook, stirring occasionally, until icing registers 240° on a candy thermometer, about 1½ hours. Remove from heat; beat with a wooden spoon until thick, glossy, and spreadable, 20–25 minutes. (A dollop dropped on a plate should ooze only slightly.) Ice bottom layer of cake; top with second layer and ice the outside. Chill cake until set.


*****
 
"Like" the SBE companion Facebook page,
a community for sharing beauty found in everyday life.
 
*****


Thursday, October 10, 2013

Piefest XIV - The Event

Whose pie will reign supreme?


Sorry for the gap between posts about Piefest XIV!  To recap, Piefest is an annual event hosted by Evan and Sharma.  For details on our entry, check out the previous post.  Evan and Adam have both worked at Jellyvision for many years.  This year's Piefest was a little smaller than last year.  Which was just as well, the rainy weather had the event indoors and the space was bursting.  Also better for my stomach!  I learned previously it is important to pace yourself and practice portion management. 

Piefest has several categories.  The winners are selected democratically.  Everyone in attendance at the time of voting can fill out a ballot, regardless of pie entry.   

Categories:
Fruit
Cream 
Savory
Miscellaneous (anything not of the previous three)

Awards are given in the individual categories, as well as for:
Best Crust
Best in Show
Most Ambitious
Best Presentation
Most Original

FRUIT PIE ENTRIES

Nectarine and Raspberry Galette
**Winner - Best Fruit and also Best Presentation**


These were very delicious, and I thought a very clever idea for sharing! 


CREAM PIE ENTRIES

*Winner - Most Original*

I didn't catch the name if this, it was banana and I think chocolate,
and the crust was something with Golden Grahams.
*Winner - Best Cream*


SAVORY PIE ENTRIES

Ga Lei Gok (Curry, Water Chestnut, and Beef)


*Winner - Best Savory Pie*


Ali Baba and the Forty Leaves (sort of dolmades in pie form)


MISCELANEOUS PIE ENTRIES

*Winner - Best Crust*


*Winner - Best Miscellaneous Pie*
It was very delicious, and had the advantage of still being a bit warm. 


I apologize, I don't know who won Best in Show and Most Ambitious.  We didn't stay for the results, and didn't learn the winners until several weeks later when we saw Evan and Sharma at another event.  Not sure if I asked and forgot, or I forgot to ask.  So, we didn't emerge victorious, as last year.  But we did place second, which is pretty good considering it was a very crowded field and all the pies were quite delicious. 

Although I have a full stomach from dinner and even ate farmer's market cherry pie for dessert, thinking about Piefest still makes me want to eat pie!

Wishing you much sweetness in your life.

Hugs,
Tara


*****
 "Like" the SBE companion Facebook page,
a community for sharing beauty found in everyday life.
*****